Every car is susceptible to scratches and can get scratched easily. Scratches can be caused in different ways. They can also be caused by accident, vandalism, bad parking, and other parking lot misfortunes are all frequent reasons for a scratch or two on your flawless paintwork. While these scratches detract from the shiny appearance of the car. Scratches on the car are unavoidable over the lifespan of the vehicle. Scratches can be erased in different ways.
How do Car Scratches Removal Work?
Scratch Removal solutions are often made up of mild or specialty polishing chemicals that are aimed to remove minor surface flaws, as well as wax or clear polymers to fill in deeper abrasions. These are mainly single-application solutions that improve the paintwork finish quickly and easily. it is noted that the product’s performance is restricted by the moderate washing and polishing properties of these formulations, which means that these scratch removal formulations may be unable to remove heavier oxidation, in which case a polishing or rubbing compound should be employed.
Removing surface scratches:
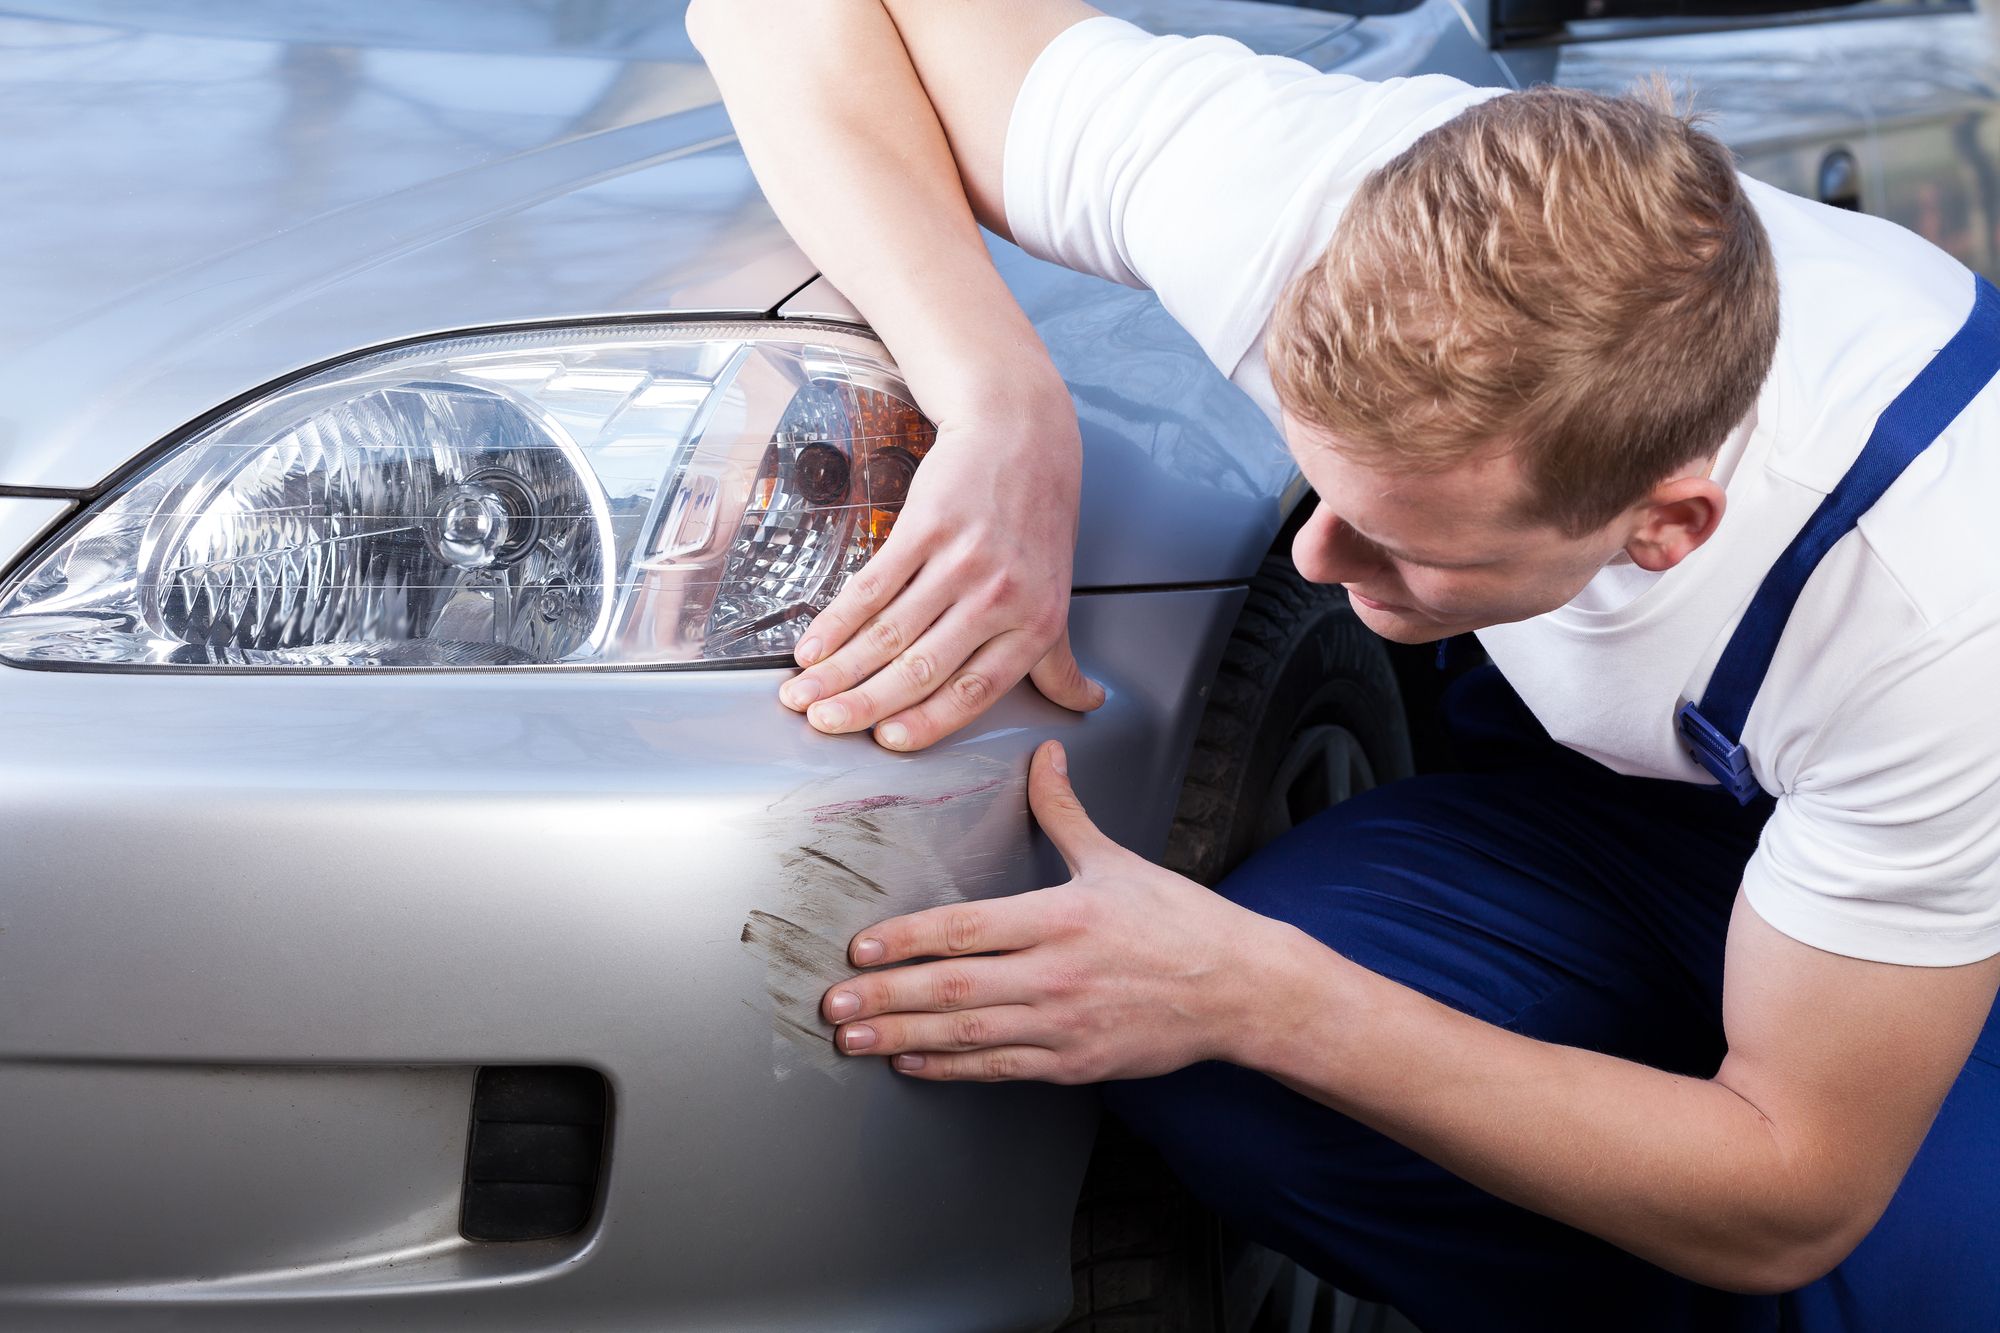
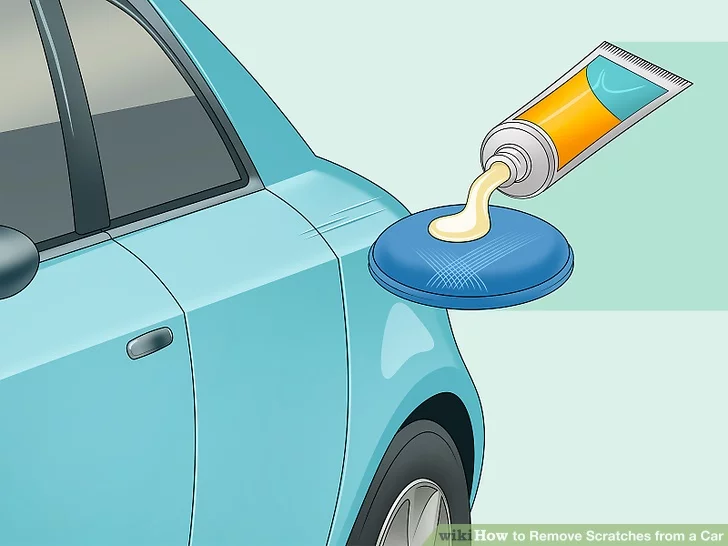
Step 1: First of all, pour water over the surface of the scratch and wash the car thoroughly. If you’re going to use a hose, be sure it’s not set too fast.
Step 2: You need soap or detergents and clean fabric to clean up any debris or grit from the scratch. wash the car scratches by using car wash soap or liquid detergents. Scrub the scrape with a microfiber cloth or a soft sponge. Then wash and dry the scratched area of the car with a microfiber cloth.
Step 3: at this point, apply toothpaste to the microfiber cloth according to the size of the scratch. crape the scratches in circular motions. To reduce further scratches during the cleaning procedure, make sure the toothpaste is a smooth paste, free of microscopic granules.
Step 4: After 5 minutes of scrubbing, rinse away the excess toothpaste. Using a delicate microfiber towel, clean the surface. This procedure works well for minor surface scratches that are larger than a scrape but smaller than a scratch that has penetrated the car’s actual paint.
Removing Clear Coat / Small Scratches:
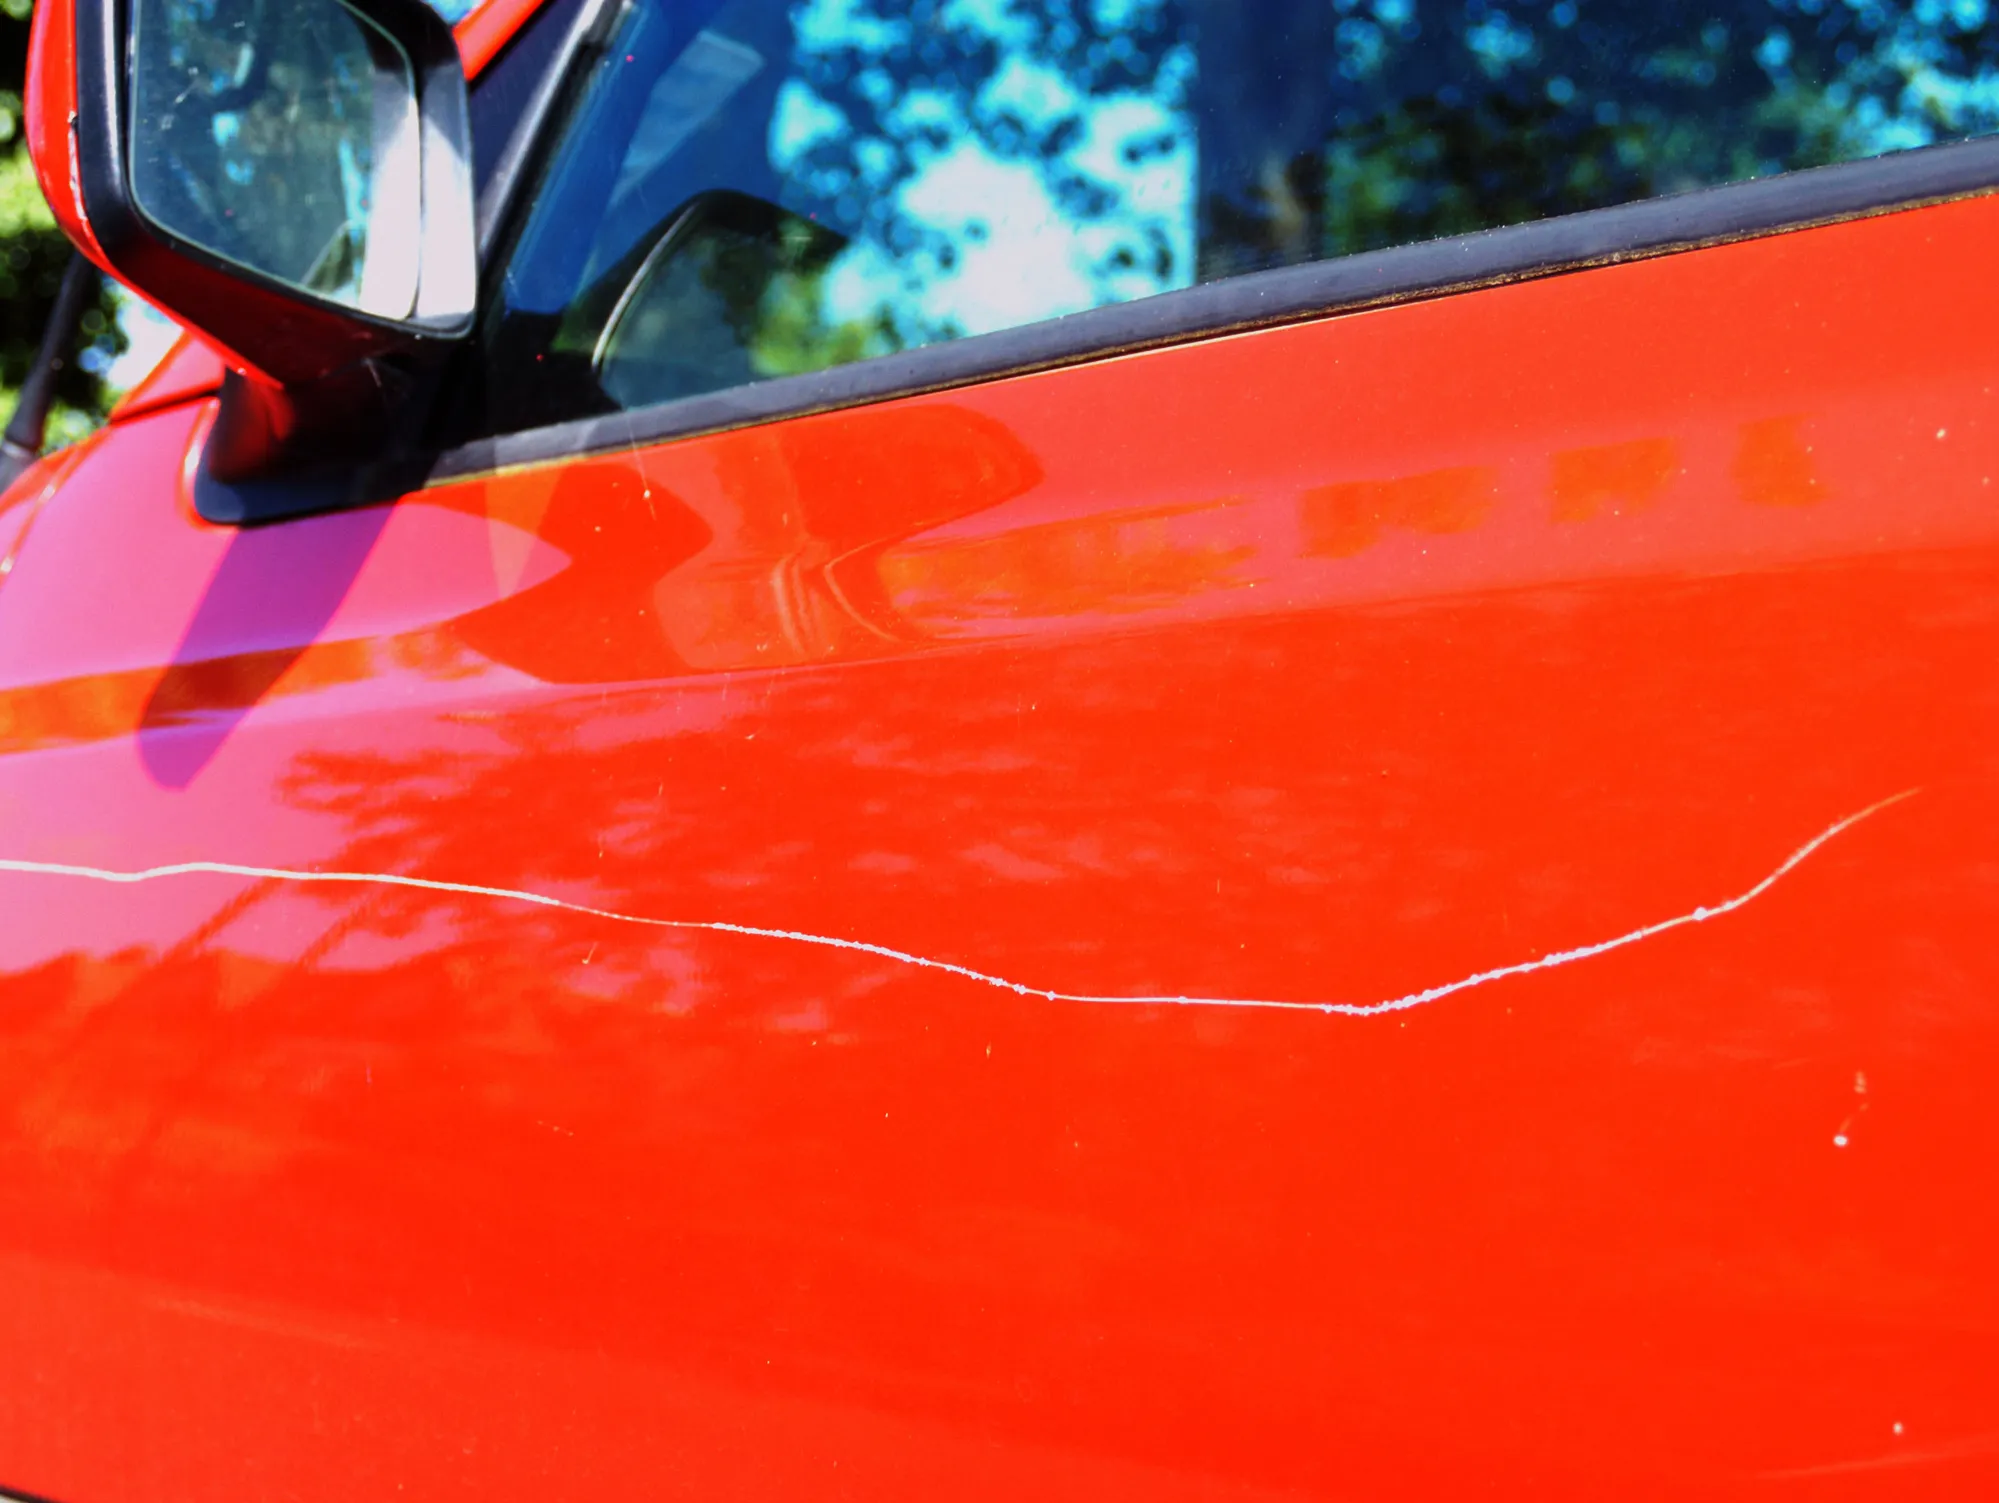
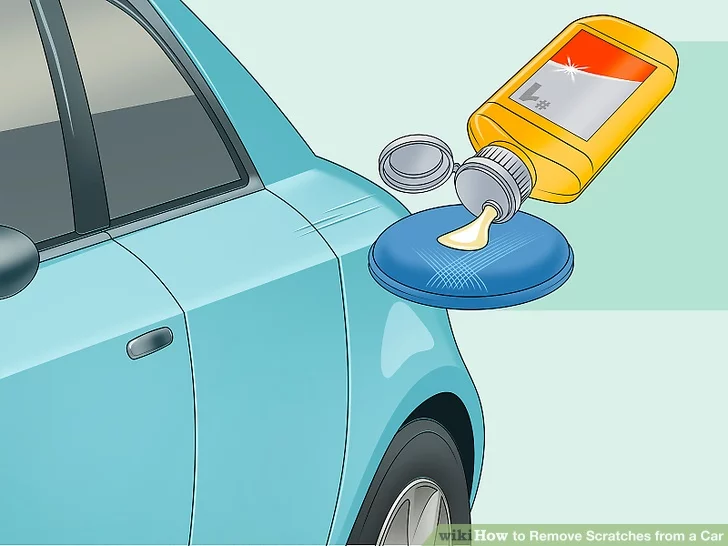
Clearcoat scratches do not penetrate the color or base coat layer, so no actual color is removed. it scatters light unevenly across the surface, making it visible.
Step 1: To check whether the scratched area is deep or not, run your fingernail across it. The scrape isn’t deep if your nail doesn’t catch. If your fingernail catches, it means it has left a deep scratch. but no worries, you’ll be able to fix it as long as it’s in the clearcoat.
Step 2: Use soapy water and a clean soft towel to clean the scratched area. Wash the car scratches area and make sure that there are no dirt and dust particles on the surface. which could avoid your car more damage.
Step 3: After that tape off the scratched area, 1 inch above and below the scratch by using masking tape. The goal of applying masking tape is to make it easy to keep track of where the scratch is. It may become harder to identify the scratch surface once you begin scratching it off.
Step 4: The scratched area must be sanded. You’ll need 3000 grid sandpaper. The rule of thumb is that the lower the grit paper’s number, the finer it is. The 3000-grit paper is therefore not as fine as the 5000-grit paper. If the scratch isn’t too deep, you could use 5000 grit sandpaper to remove it. During sanding, you must sand the parallel to the scratch. spray the sandpaper with soapy water to make a scratch, then rub perpendicular to it. You should apply medium pressure on it. When you first begin scratching, periodically wipe the area clean to examine if the scratch is still apparent. Continue to scratch until it is completely gone.
Step 5: After completing the scratching process, A fine polish or car scratches removal product is required for this step. A fine scratch and swirl remover polish will be great. Clean the area with clean water to remove any dirt or grit before starting polishing, it will prevent additional scratches. Apply the polish to a clean microfiber cloth and let it dry. To cover all angles of the scrape, rub the polish in a circular pattern. It’s possible that you’ll need two coats of polish.
Step 6: After polishing the area, lightly buff the surface with a microfiber towel to remove any excess polish. To protect the polished surface, use paste wax. Paste wax is recommended over a liquid wax because it properly fills in scratches while also protecting the clear finish.
Removing Deep Scratches:
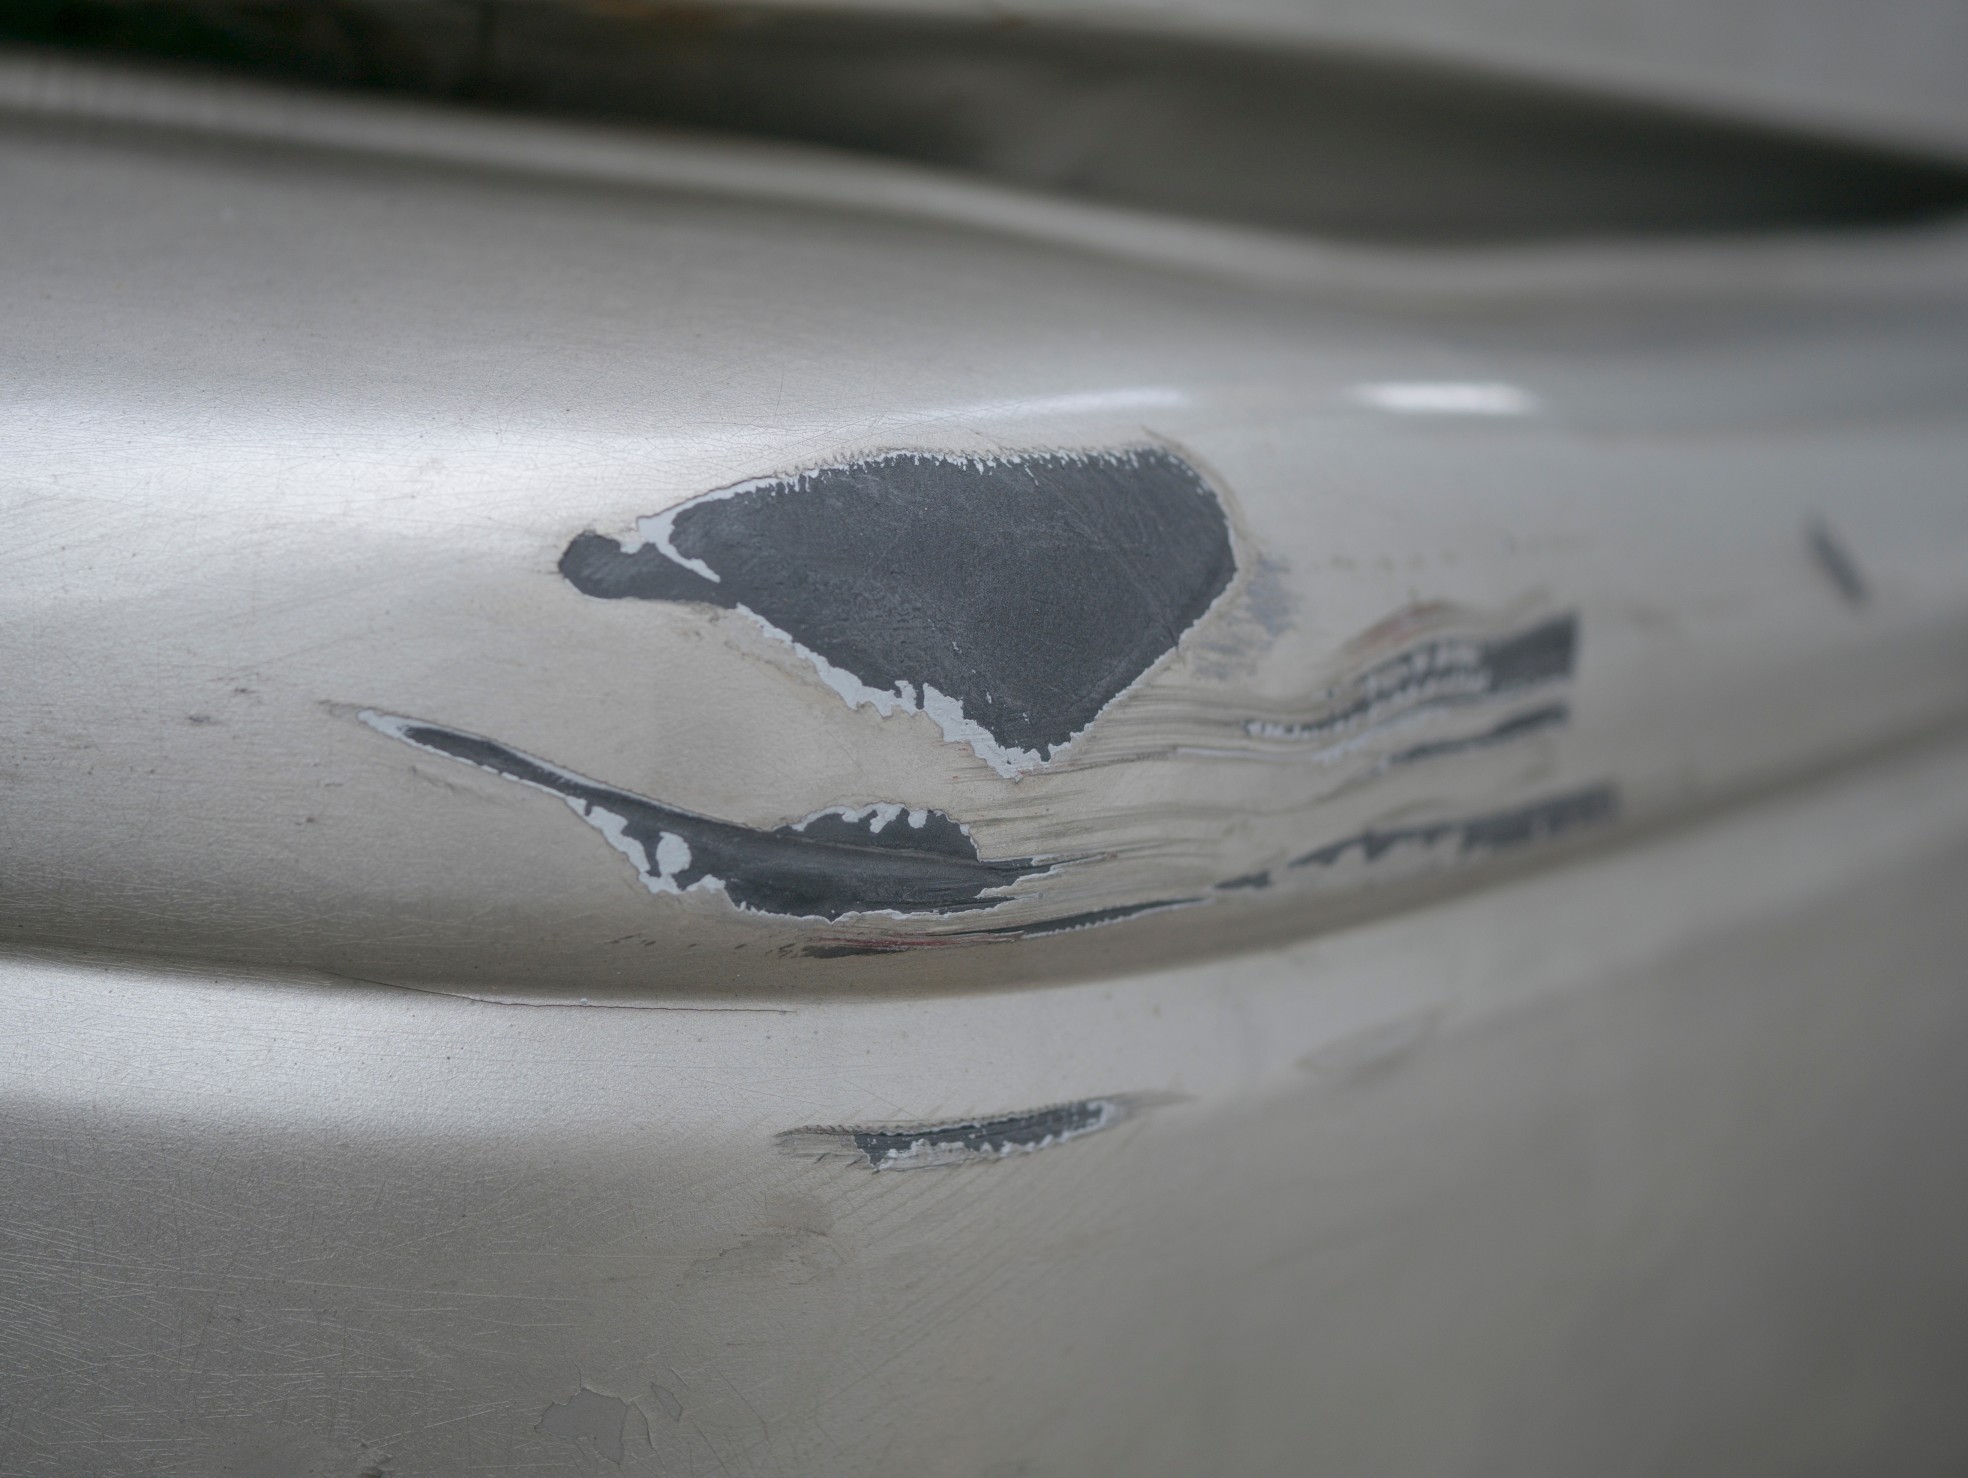
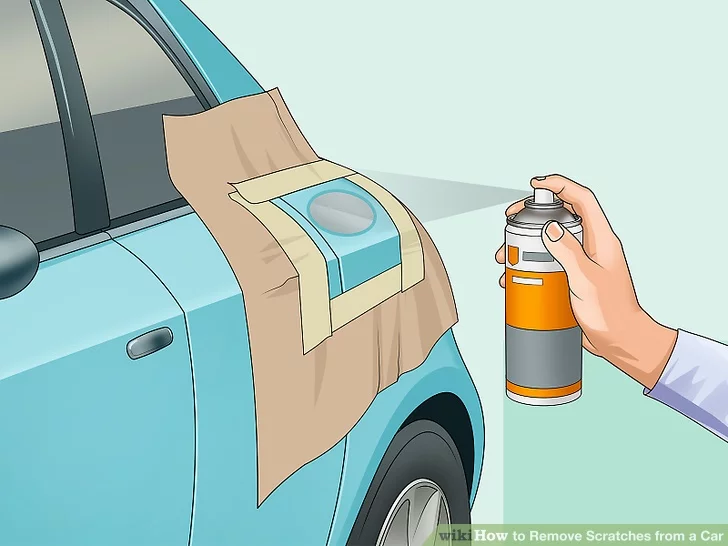
These are the deep paint scratches that, when compared to the other sorts of scratches, can inflict far more harm than merely appearing terrible.
Step 1: Wash your car thoroughly to eliminate any dirt and debris from your car. You should rinse the scratched area a number of times more to be sure that the scratched area is clean. Pay special attention to the region you’ll be working on. Spray water on the scratched area, and be sure to get all of the debris out.
Step 2: wash the car scratches by using car wash soap or liquid detergents. Scrub the scrape with a microfiber cloth or a soft sponge. Then wash the car completely and dry the scratched area of the car.
Step 3: The scratch must be sanded. You should use 3000 grit sandpaper for deep scratches. By going against the grain of the scratch, you can smooth out the region. Continue respraying and sanding the scratch area until it is no longer visible.
Step 4: Rinse and pat dry the affected area. By sanding the scratched area, you can remove the debris that has accumulated. After that, dry the area with a clean microfiber cloth.
Step 5: Spray a generous amount of pint into your car’s scratches and leave for 50-60 seconds. Apply a couple of coats of paint that match the color of your car. Next, spray the area where you sprayed the primer with the same color paint as the rest of your car. Allow 5 to 10 minutes between applications to allow the paint to completely dry.


